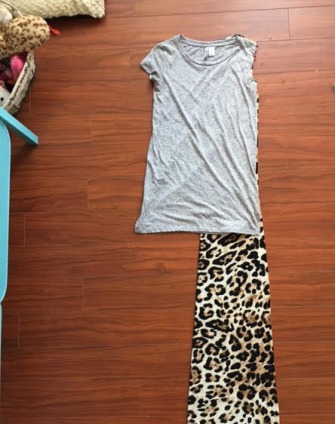
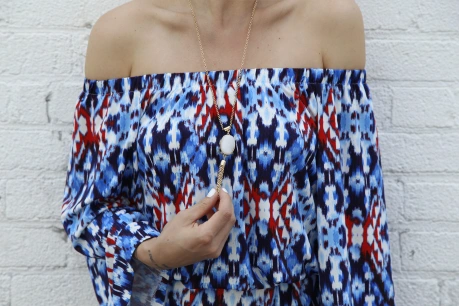
Okay, so I’m sharing a secret with you guys. This dress I’m about to show you, is my life.
Before I go any further just know you don’t have to be an experienced sewer to do this! Sewing comes with time and patience. But if you are an experienced sewer and would like to finish this dress off (the hem, neckline and sleeves then be my guest, but show me pics!)
I chose not to finish the edges, which sounds crazy- I know, but with the ITY that I used and the knits that I have used, its not necessary and I like it a little rough. And you heard right, I’ve done this DIY with Knits and ITY.. AKA I’ve made a TON, they are my absolute GO TO.
I’ve even thrown one together minutes before work… that’s actually how this all started. With that said, lets get started!
Step 1: Pick out a fabric. I LOVE my ITY (which I’m giving 2yrds away to a random special someone) I used 1.5 yards, but bought 2yrds to be safe.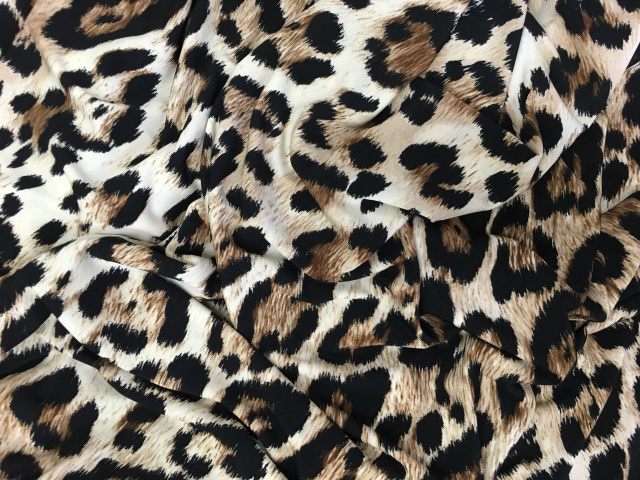
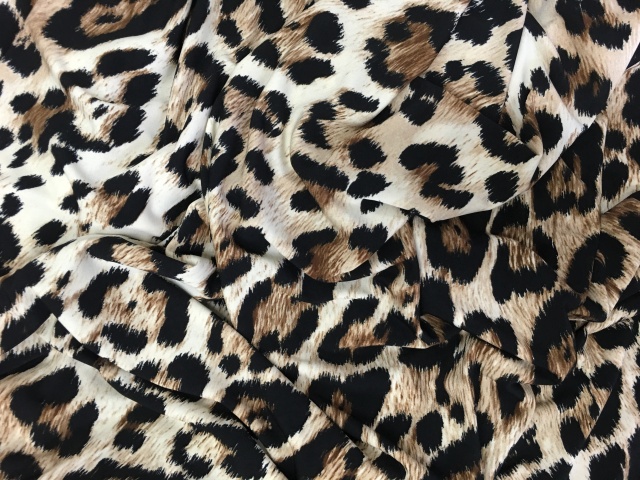
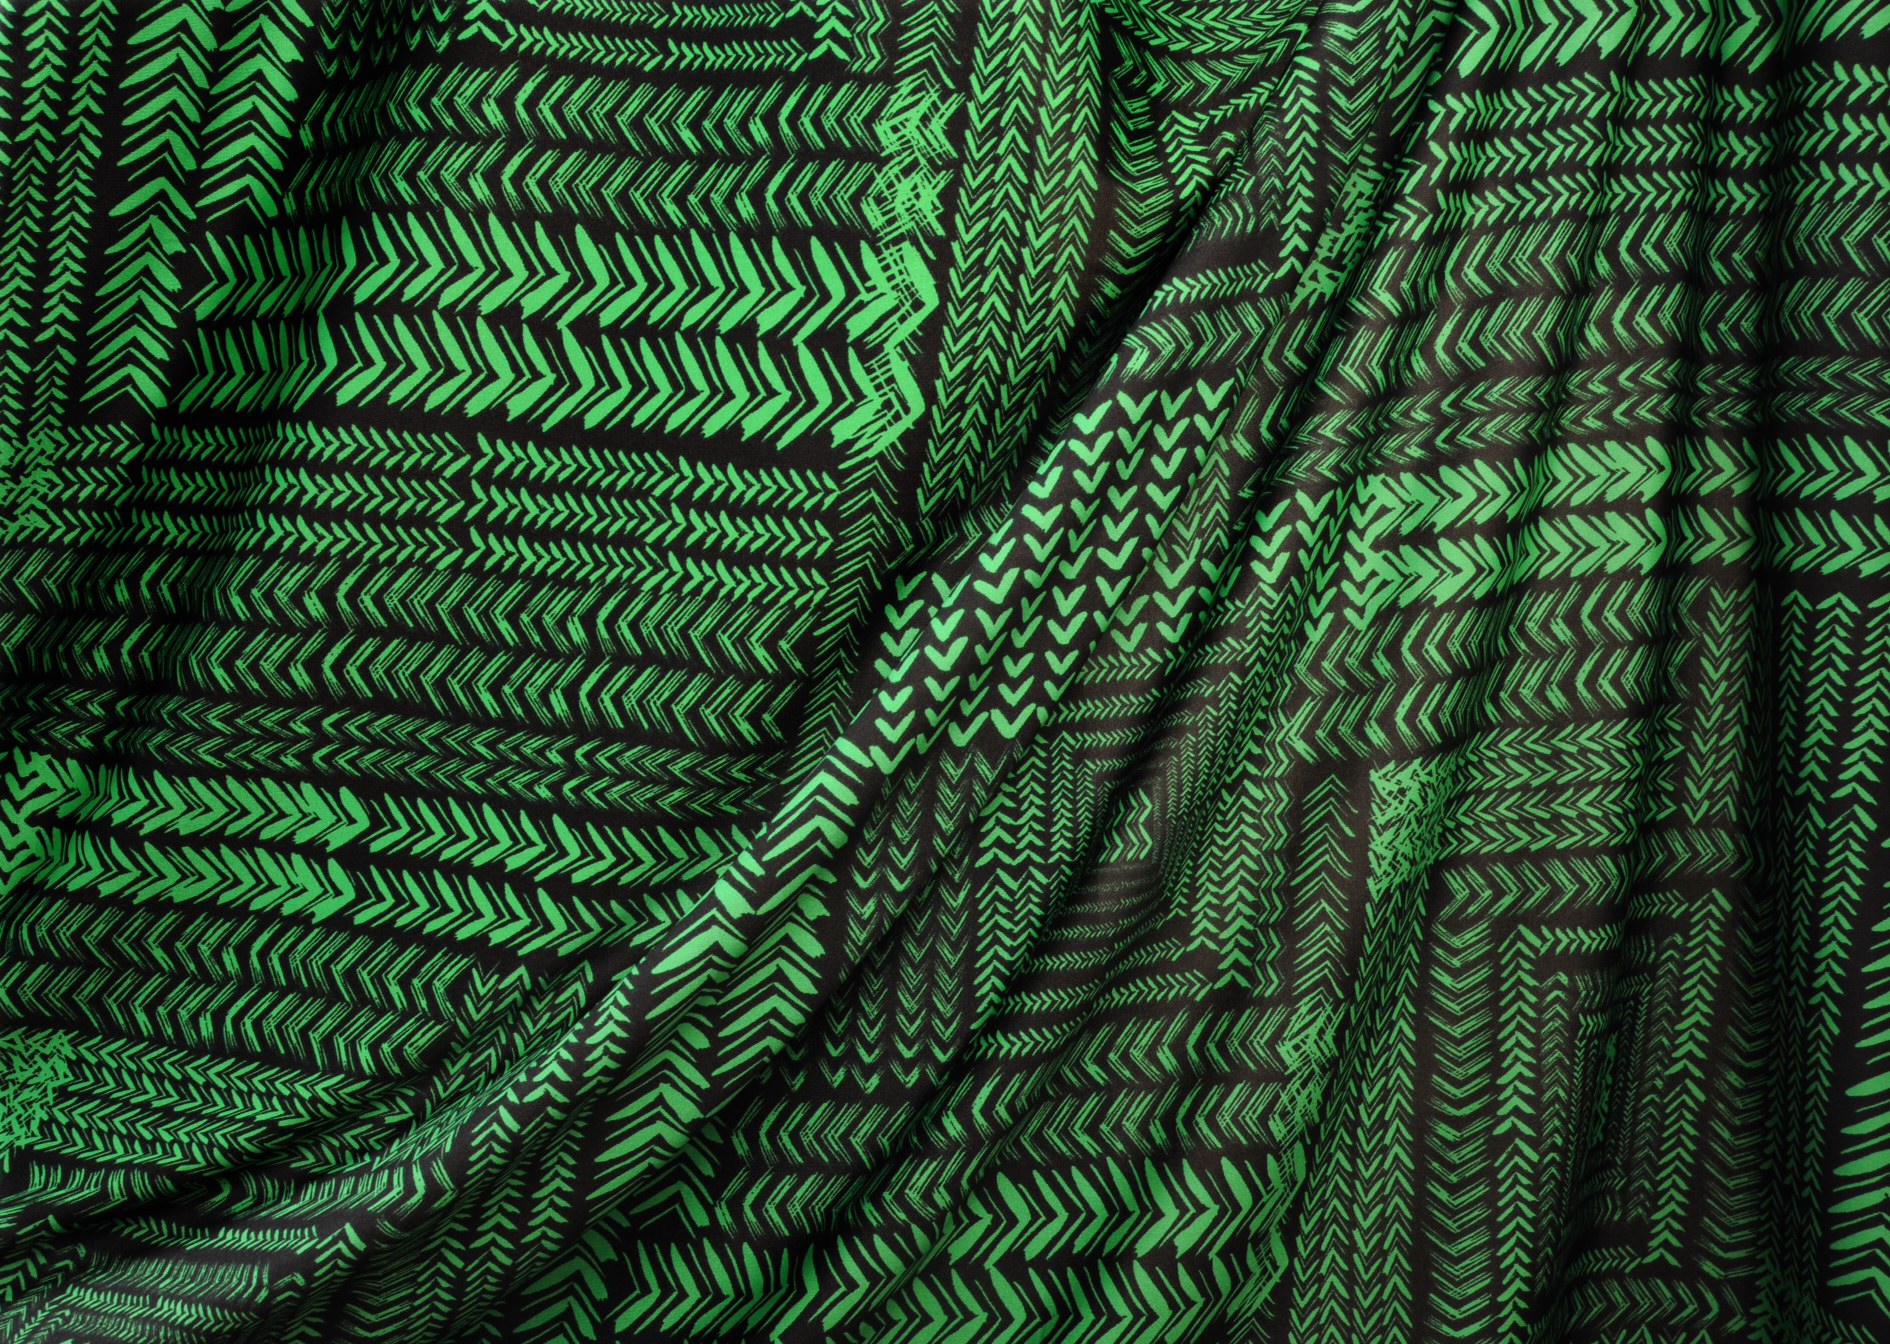
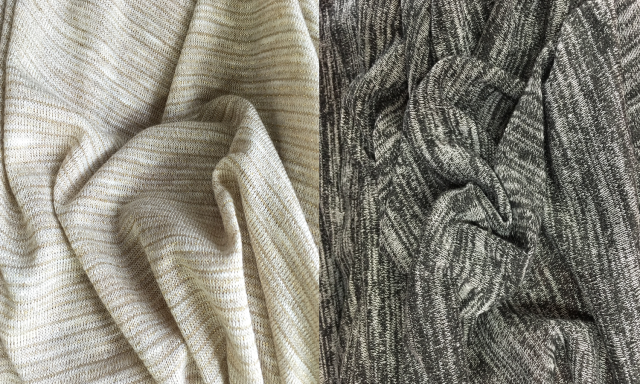
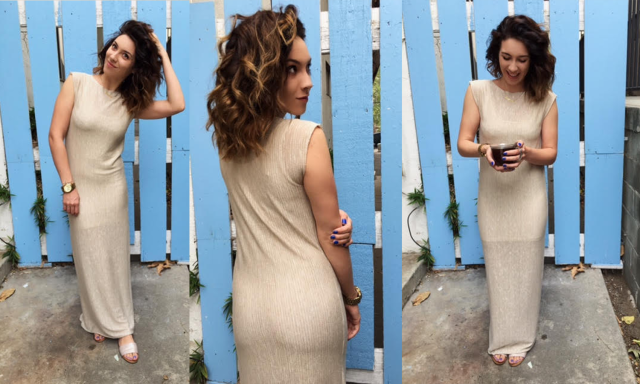
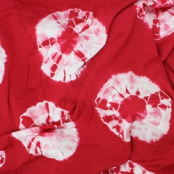
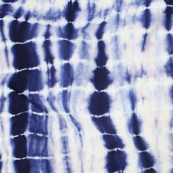
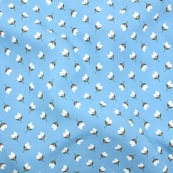
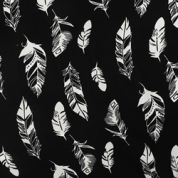
These are the two knits I have also used before (pictures with the dresses below)
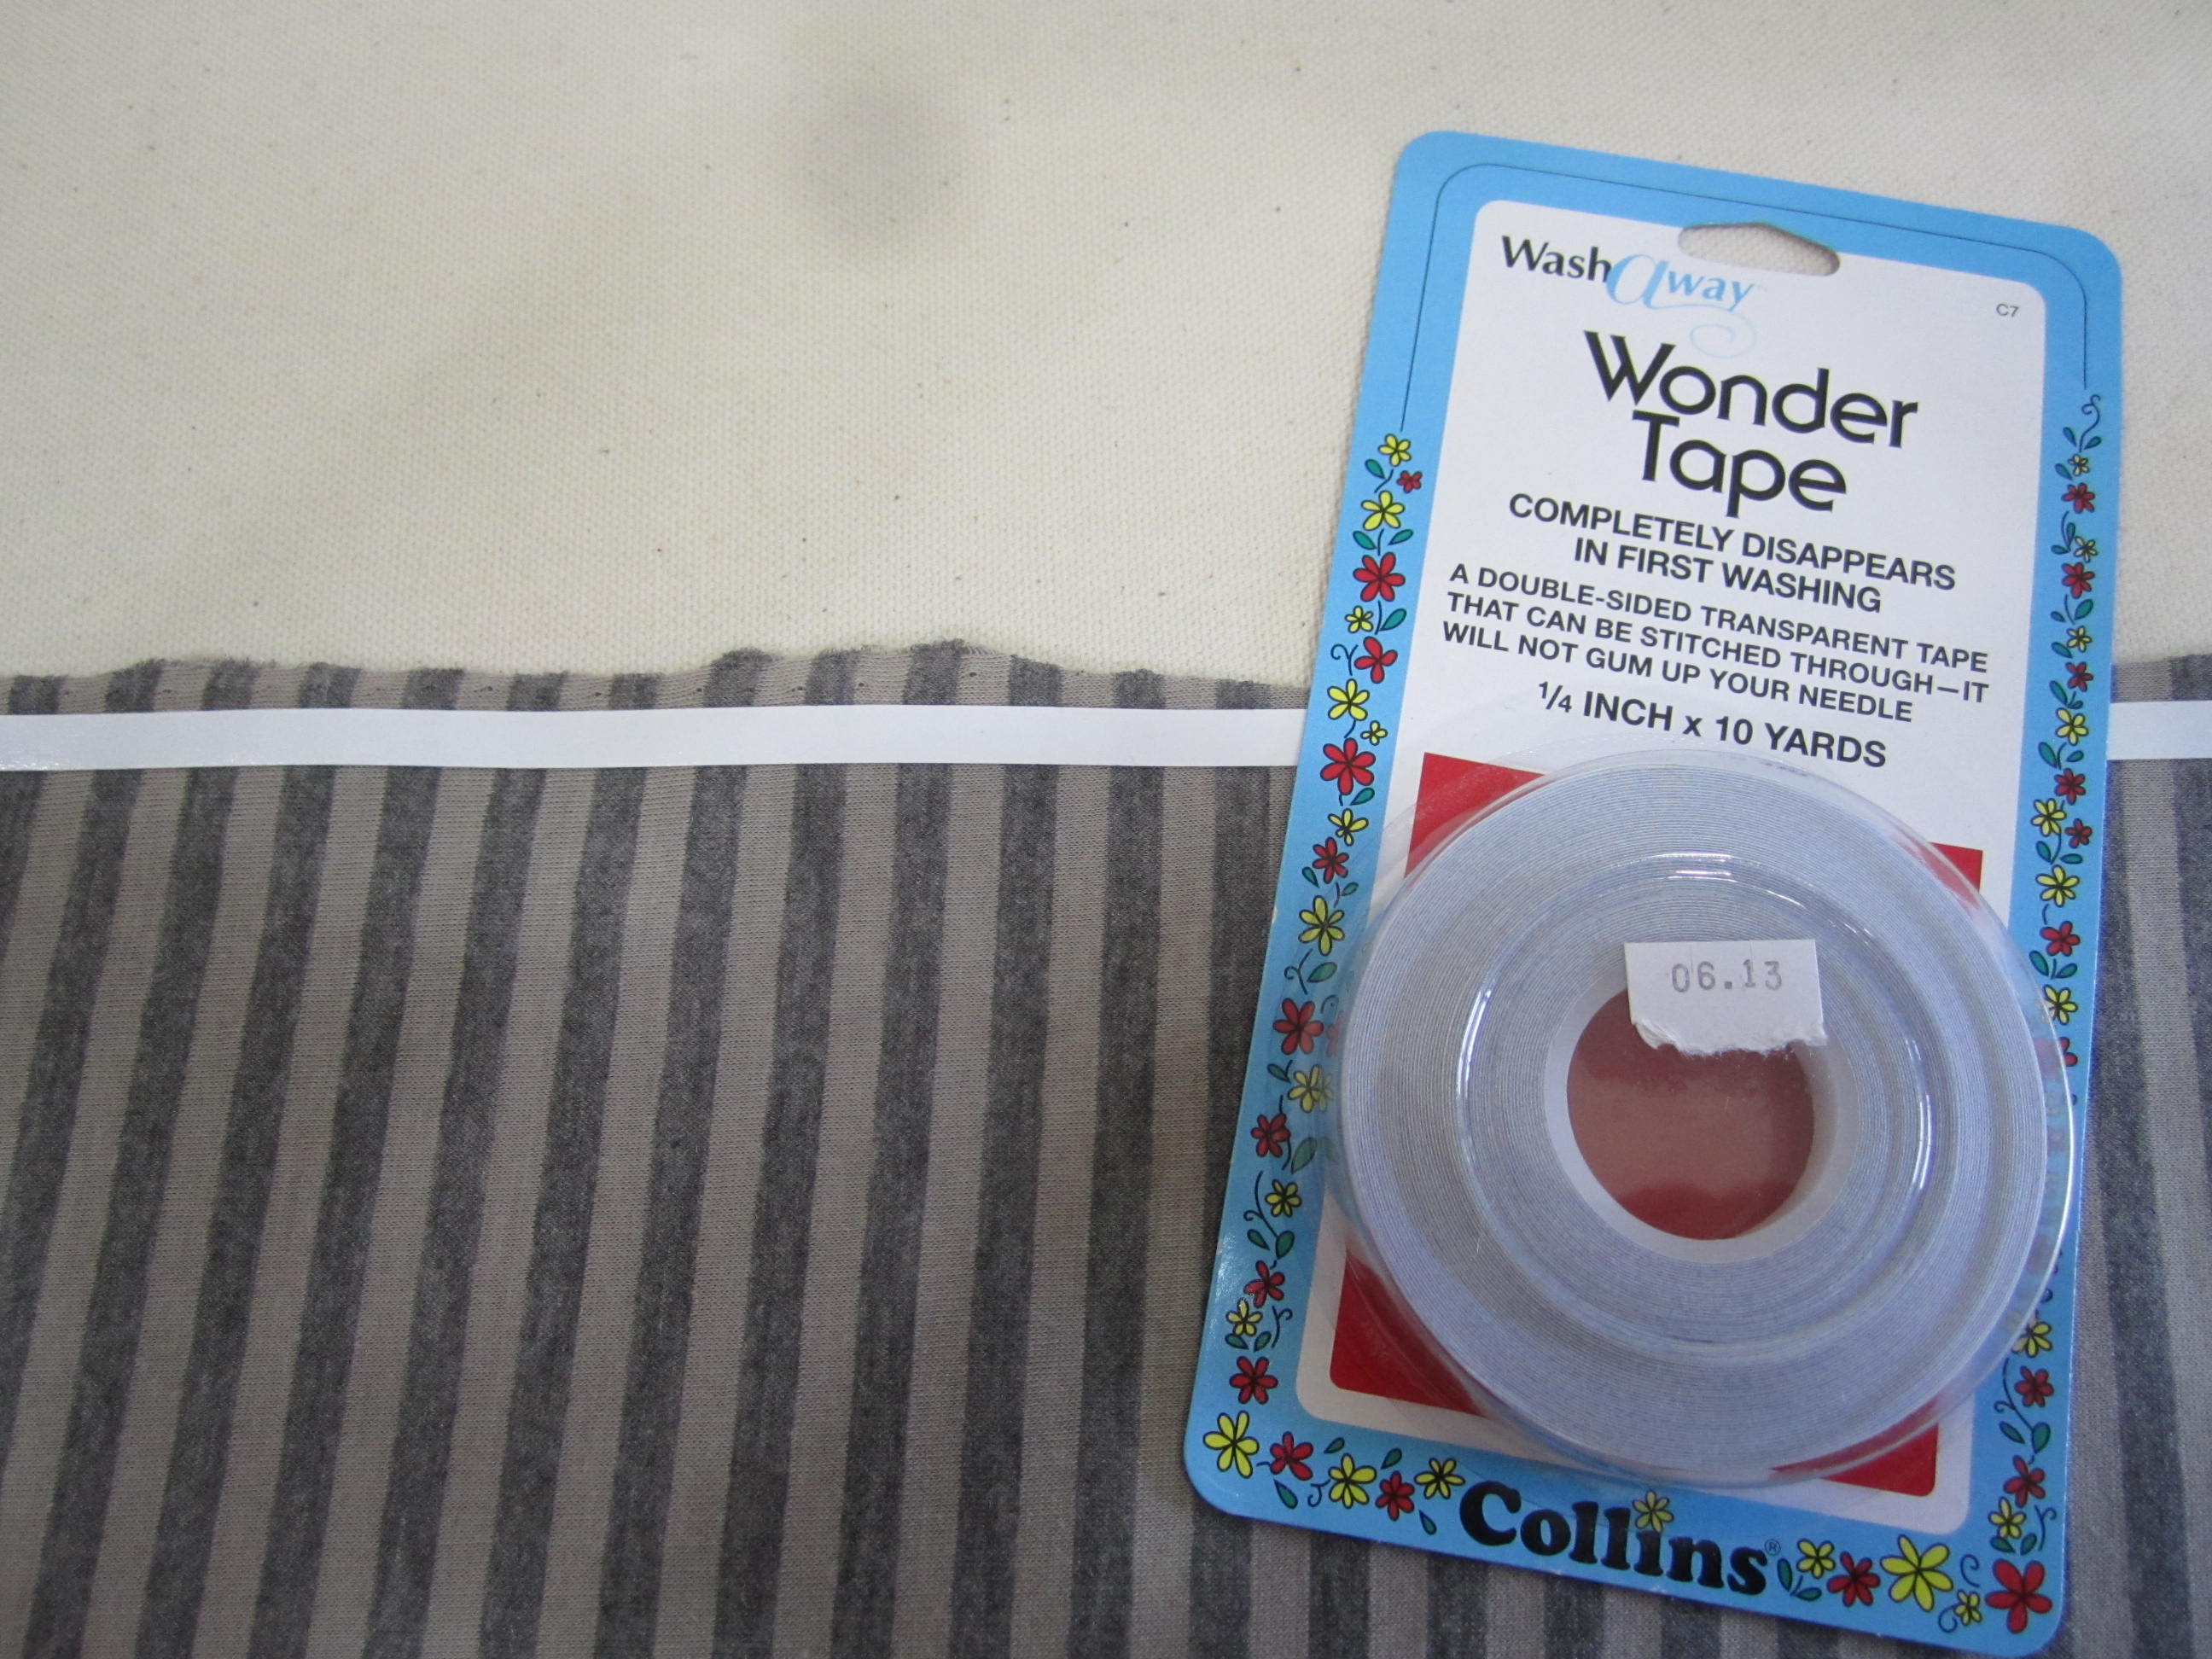
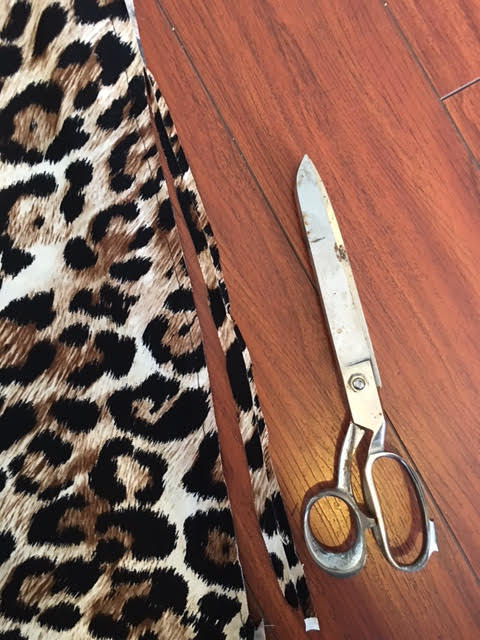
Step 2: Gather your tools

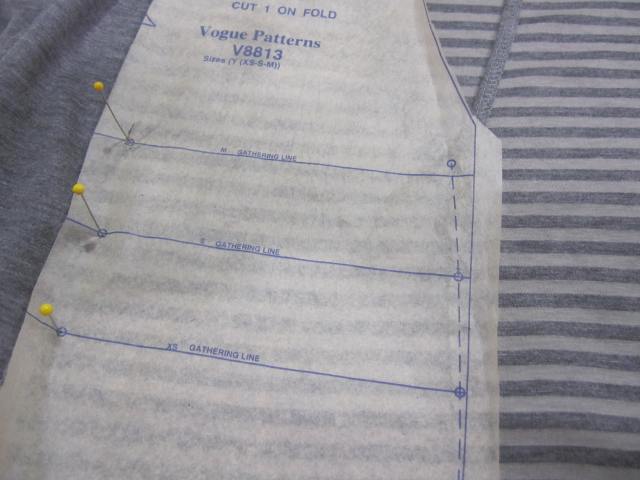
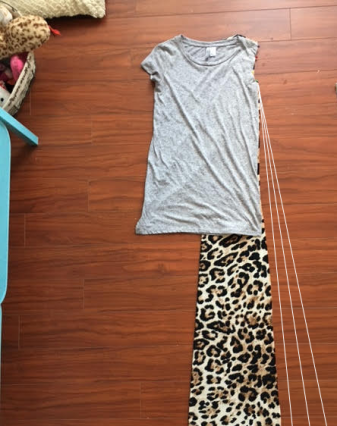
Step 3: Pin the sleeve to your shirt IN, like so…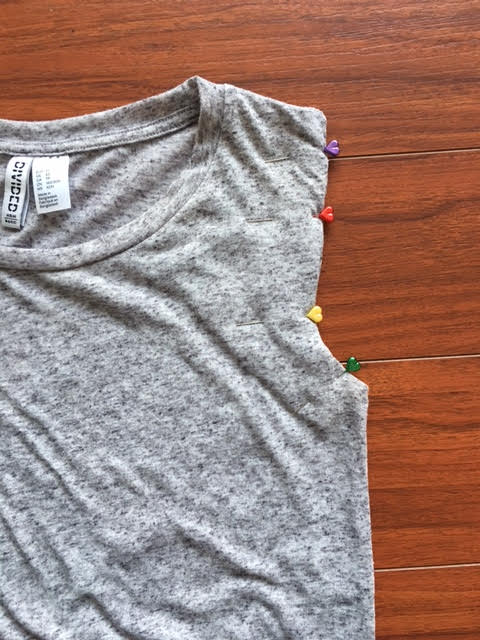
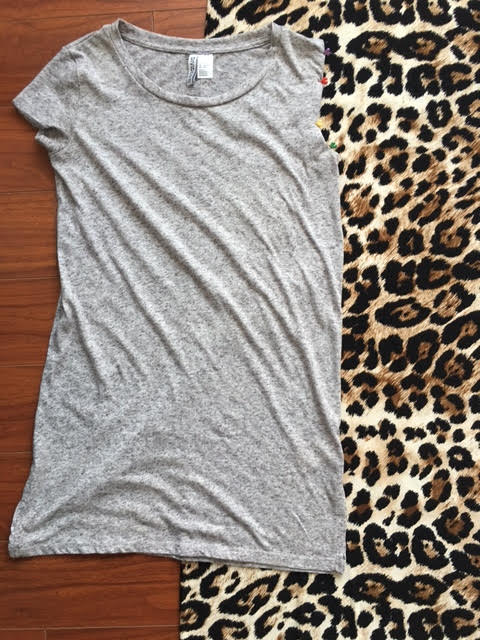
Step 4: Lay your fabric out, make sure you are “minding the grain” as my teacher has always told me (so that it stretches the correct way). I personally, lay my fabric out flat, then fold in each side according to how much fabric I need so that I have a solid middle piece remnant. You will then lay your shirt on top of the fabric down the center front. You can pin this down if your ITY is moving around too much.
Step 5: Use your ruler to measure from your shoulder to the ground, this will be how long you want to cut your dress continually extending it as your t-shirt follows.
** I wanted this dress to be formfitting and a little bit edgy, so I followed the cut of my shirt, if you want it loose and non formfitting, add 2-3 inches as shown below, when doing this, you may want to add a piece of elastic to the back, if you don’t know how to do this, please comment and ill add the steps **
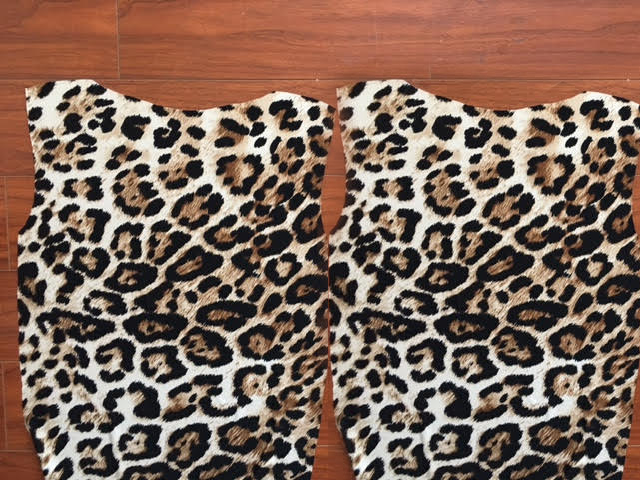
Repeat steps 4 & 5: This will be your back, you should end up with TWO cuts that look the same, like this…
Step 6: Who loves french seams?! Because I know I do!! To those who are unfamiliar, we are going to start by sewing the dress together as if you are actually wearing it. That means pattern print goes OUTWARD. Starting with the shoulders, we pin, then sew (I used a stretch stitch)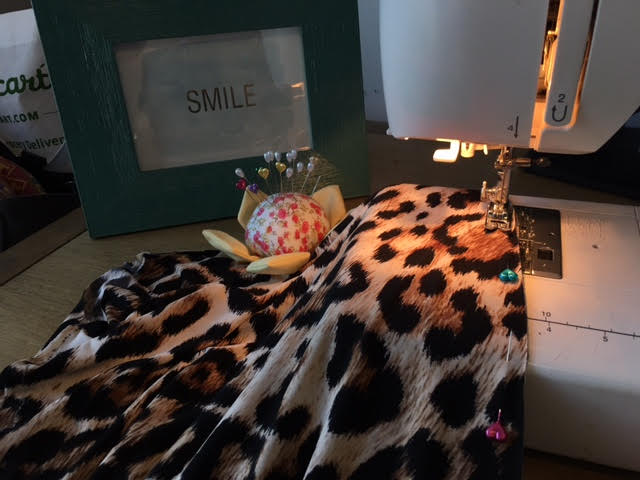
Sew the shoulders and the sides
Step 7: Trim your garment to 1/4″ from the seam like so
Step 8: Now the magic happens! Flip the dress inside out and sew 1/2″ stitch 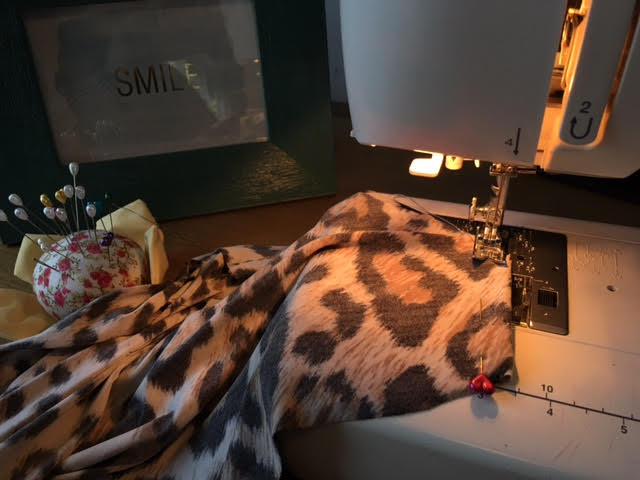
Sew the shoulders and the sides
AND THAT’S IT! I can’t stop making these nor do people stop giving me compliments on them. This in total takes me about 20 minutes (if that) to make.
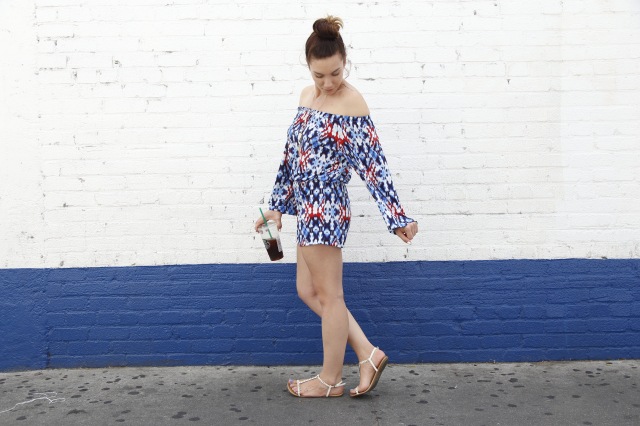
Here’s how I wore (wear) it!


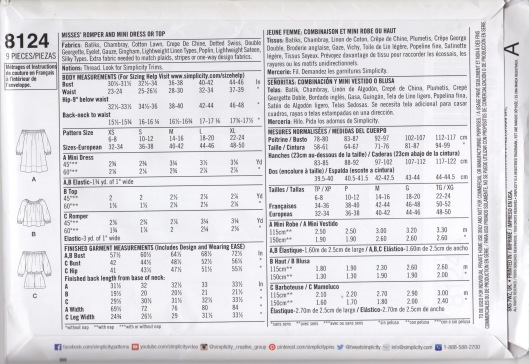

 Here is what you will need to complete this project: